Tag: Painting
Color of the Year 2022
Thursday, November 4, 2021 at 6:06pm
 The big trend with the colors of 2022 is GREEN, and paint vendors are revising it in a very soft and lovely way. The color shift that happened in 2021 was MASSIVE! If 2021 was at a ten in terms of levels of change, 2022 is more of a 4-5. It’s not an abrupt shift in colors, but 2022 pushes this beautiful green to the forefront. And it doesn’t come as a surprise, as I’m sure this focus is a result of us being indoors for too long and wanting to recreate a sense of nature within our homes.
Let’s take a look at the stars of the show…
Benjamin Moore:

October Mist
We love it! ❤️ It’s a beautiful reprise of sage without the blue-grey undertone, and it has a lovely softness to it. You will have fewer problems with this green like so many others. It’s definitely an expansion in the tint and shade of the 2021 palette.
The 2022 color palettes are similar to 2021 in direction, but there are notes that make some of the colors a bit fresher while some are more subtle. They are playing with tints and shades, but the overall direction is the same with warmer tones. You have a lovely terra cotta, gorgeous wildflower, yummy warm grey, and two whites (including one with a more greenish note.)
Sherwin Williams:
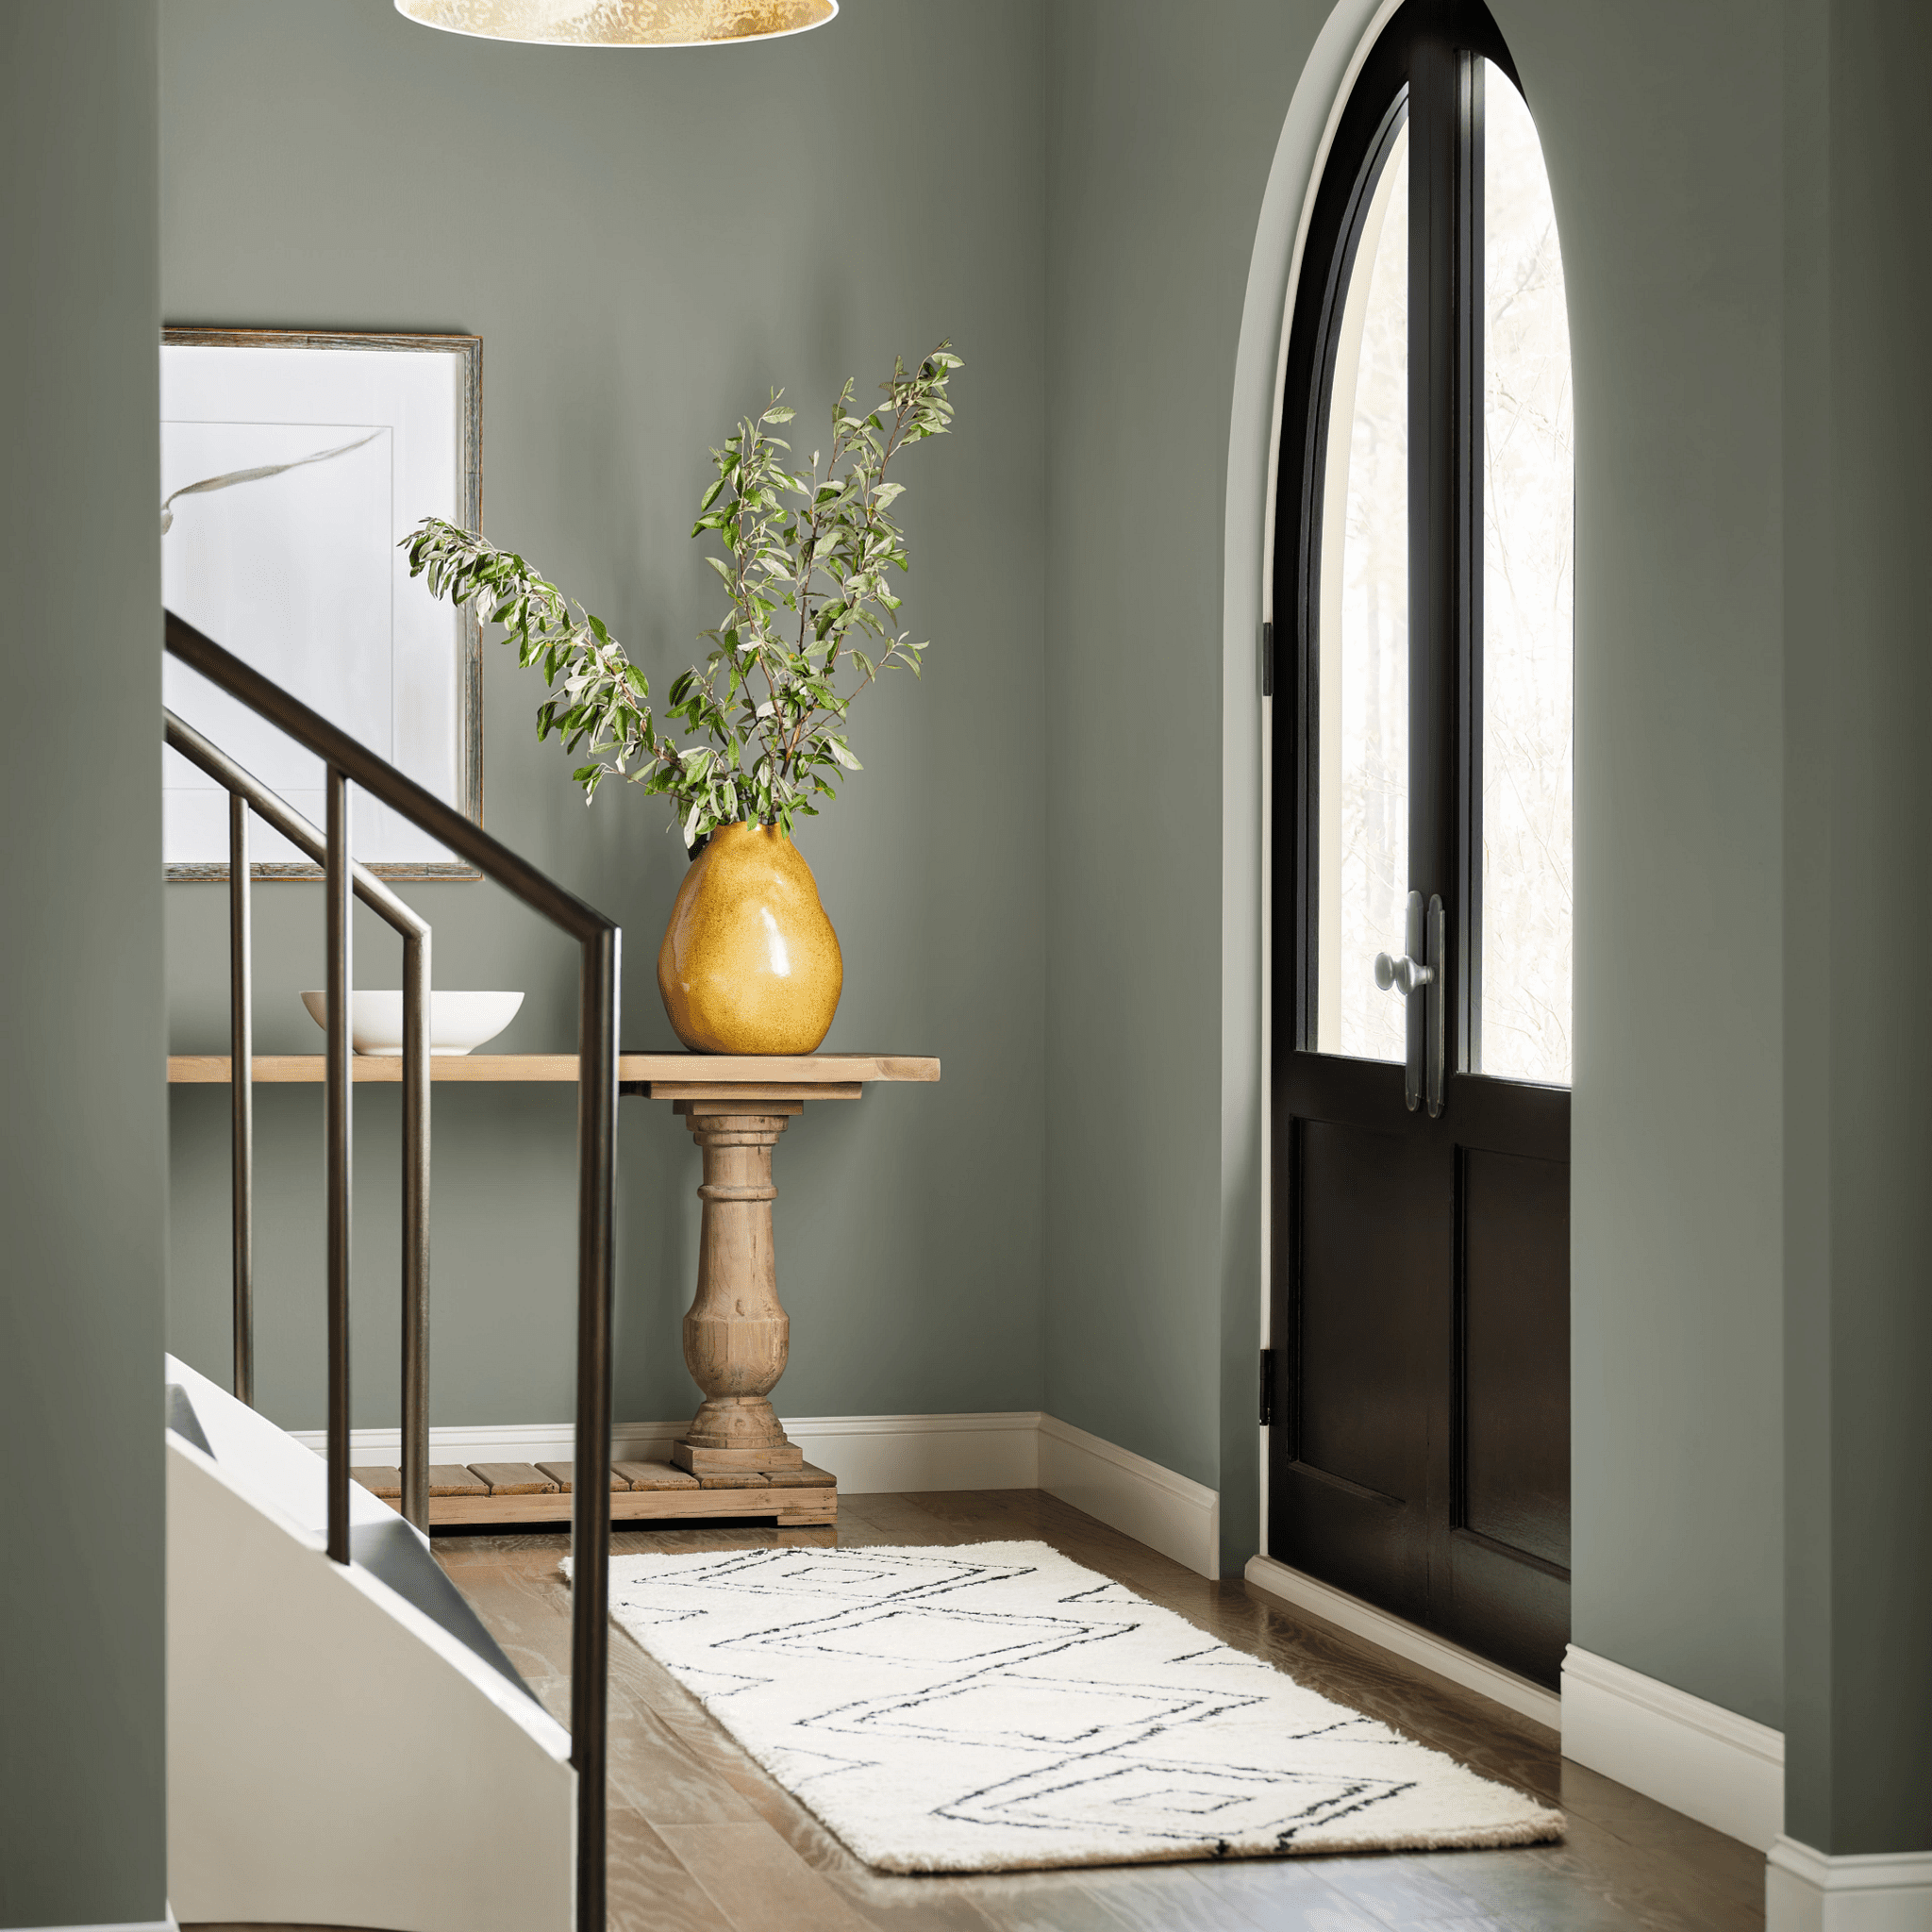
Evergreen Fog
Feels a little more like the original sage but still a very nice green. It’s a versatile and calming hue, a chameleon color of gorgeous green-meets-gray with just a bit of blue. It’s a simple but sophisticated wash of beautiful, organic color for spaces that crave a subtle yet stunning statement shade.
PPG:
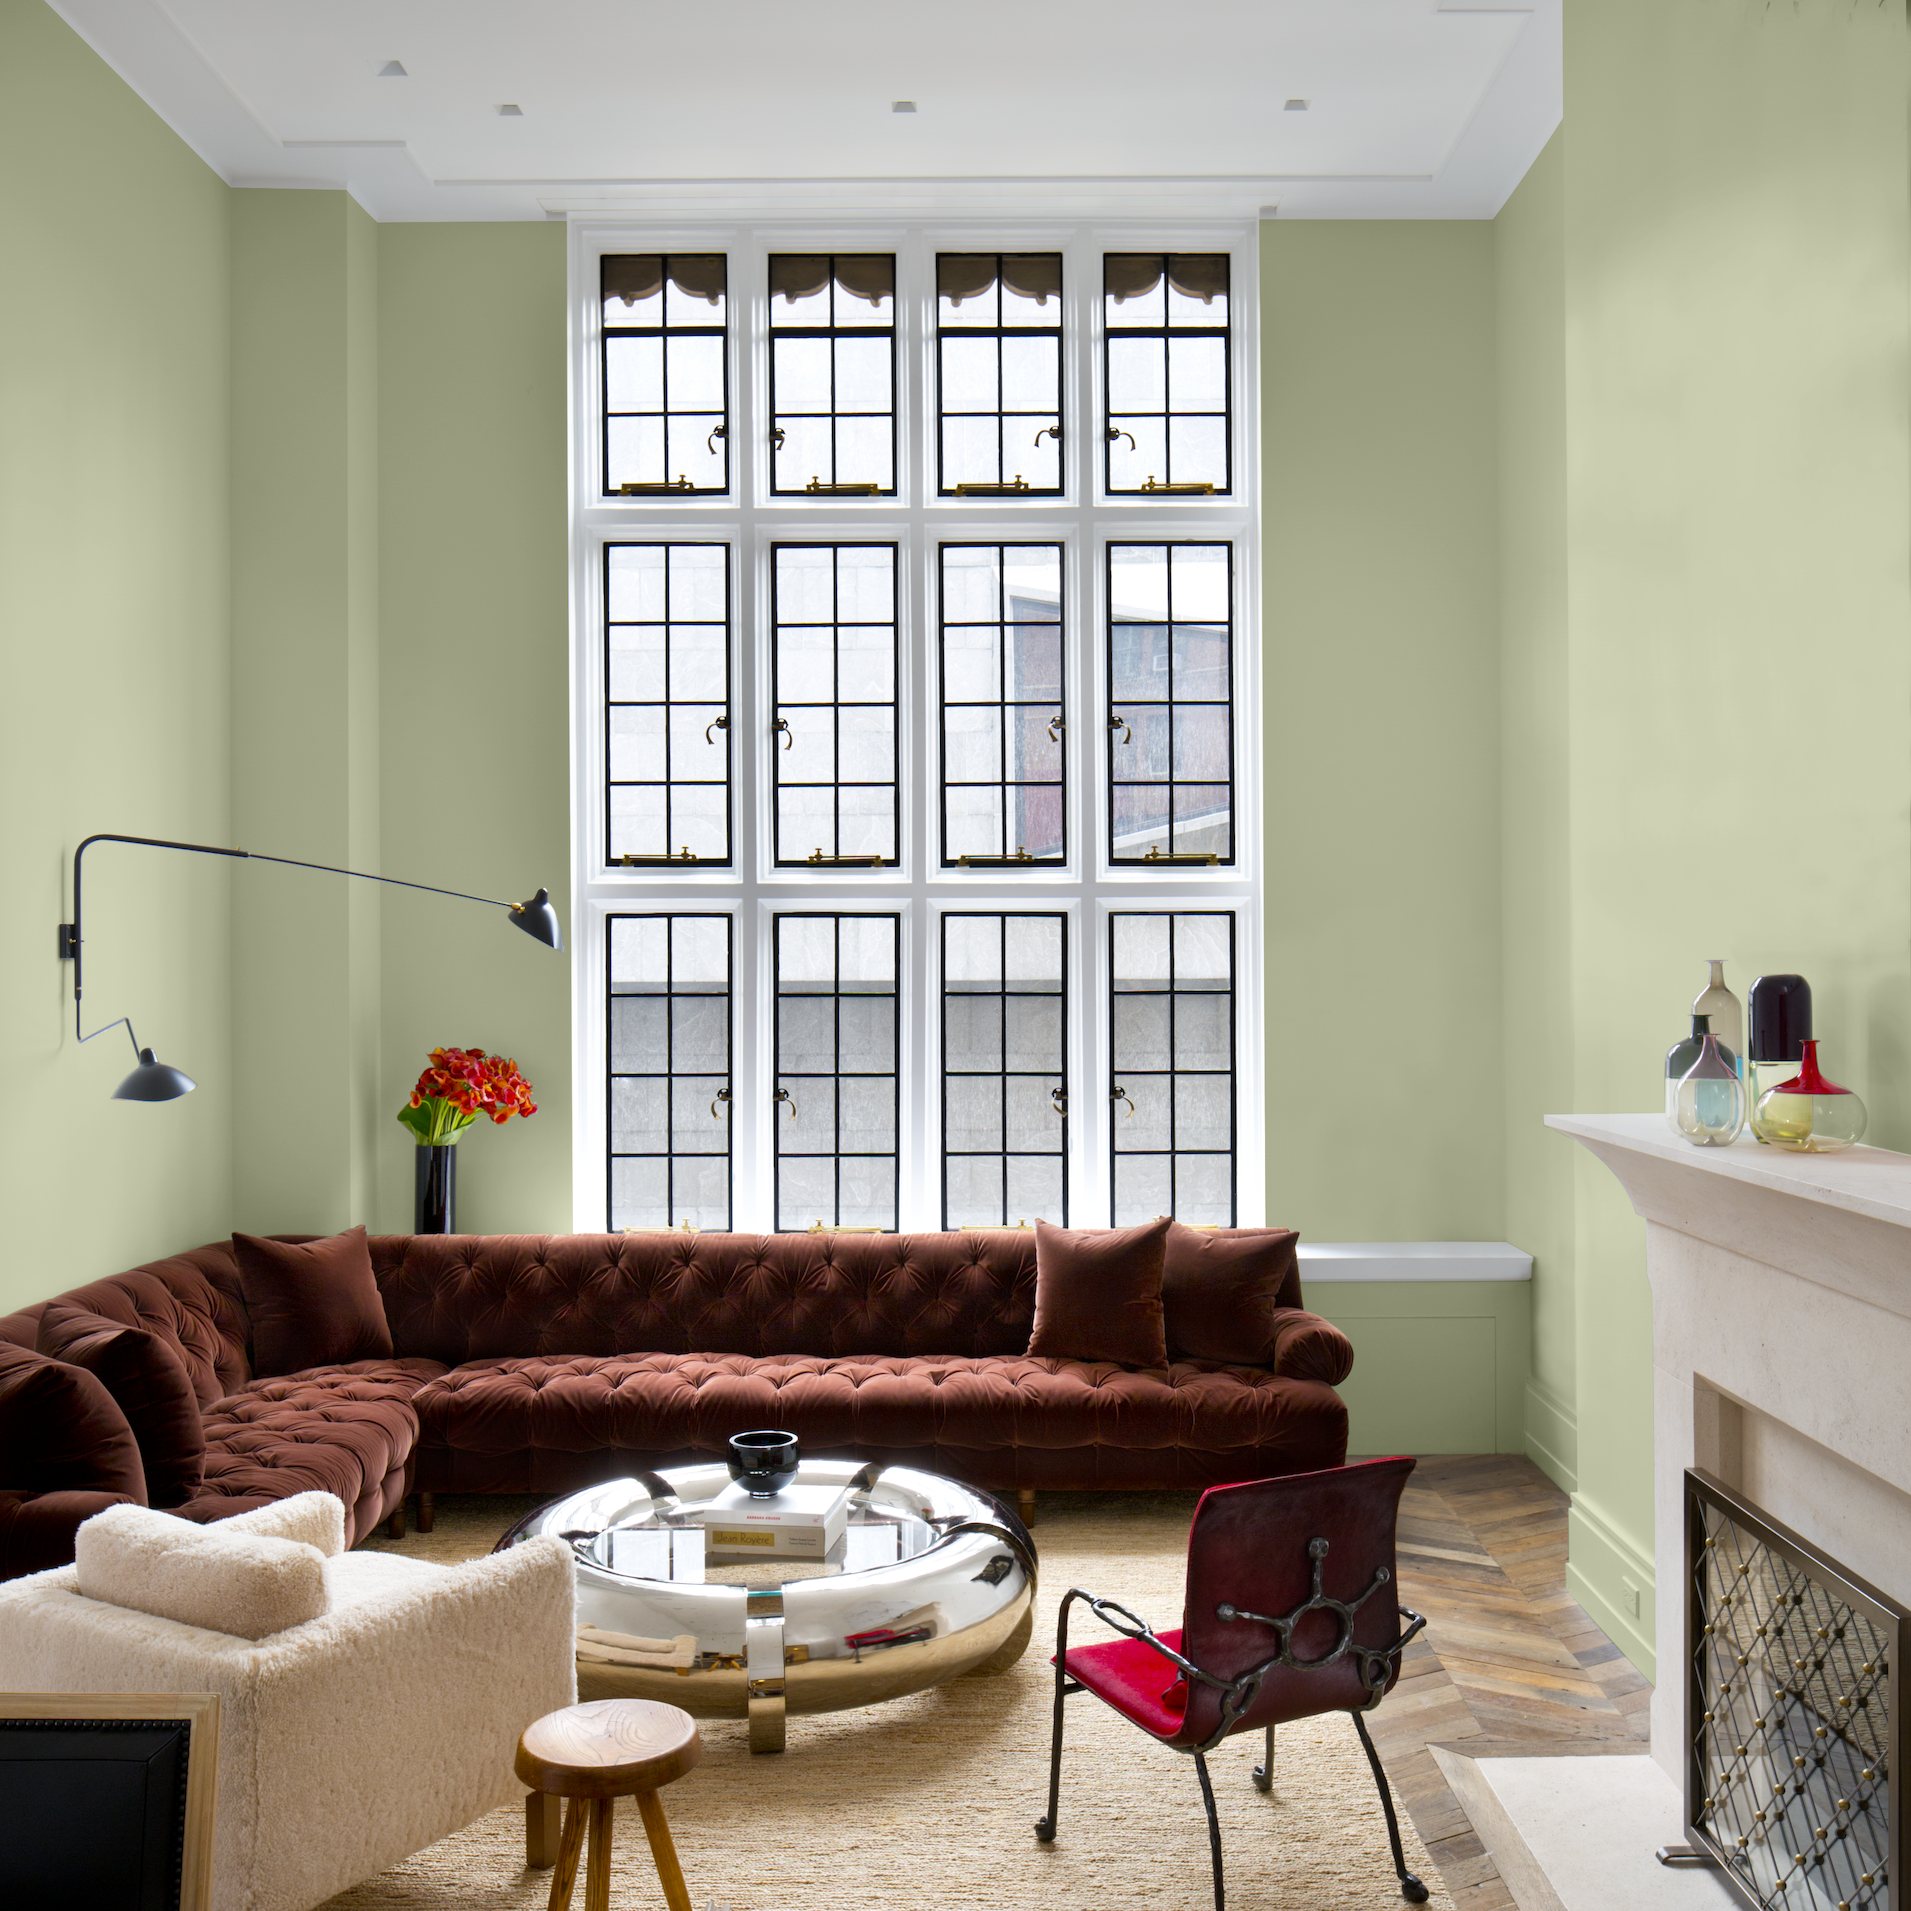
Olive Sprig
This is an elegant, grounded, versatile, and highly-adaptable grey-green. This color represents regrowth in a post-pandemic world and mimics nature’s resiliency. It’s a relaxed but enticing green that emulates the feeling of soothing aloe vera or a fragrant plant – brightening any space with organic liveliness. A versatile color that lives well inside or outside, Olive Sprig blends in with nearly any environment.
Farrow and Ball:

Breakfast Room Green No.81
- The most cheerful of all F&B’s greens
- Remains lively in both bright sunlight and softer candlelight
How Green Affects Us

Green has an emotionally calming effect. It reminds us of nature, which creates a very grounding experience.
Here’s the thing to remember about green: it is not skin-friendly, meaning that green rooms make people look less robust and healthy.
Green is a tricky one, so you have to be careful where you put it in your home. For example, green bathrooms are a BIG mistake as they make your skin tone look sallow and unhealthy.
Like every other paint color, make sure that BEFORE you choose colors for a palette, you should check out the Stop Painting Now video or our ebook How to Pick Paint Colors, which highlights the fail-proof secret rule of three!
Ooh! If a DIY paint project is in your future, then you absolutely MUST read Painting 101!
You can check both of those ebooks out in The Library! 🙂
Oh yeah! Have you taken the Color IQ Quiz yet? No? We think you’re gonna love it! 💚 💚 💚
How to DIY Your Best Paint Job Ever!
Monday, July 19, 2021 at 9:25pm
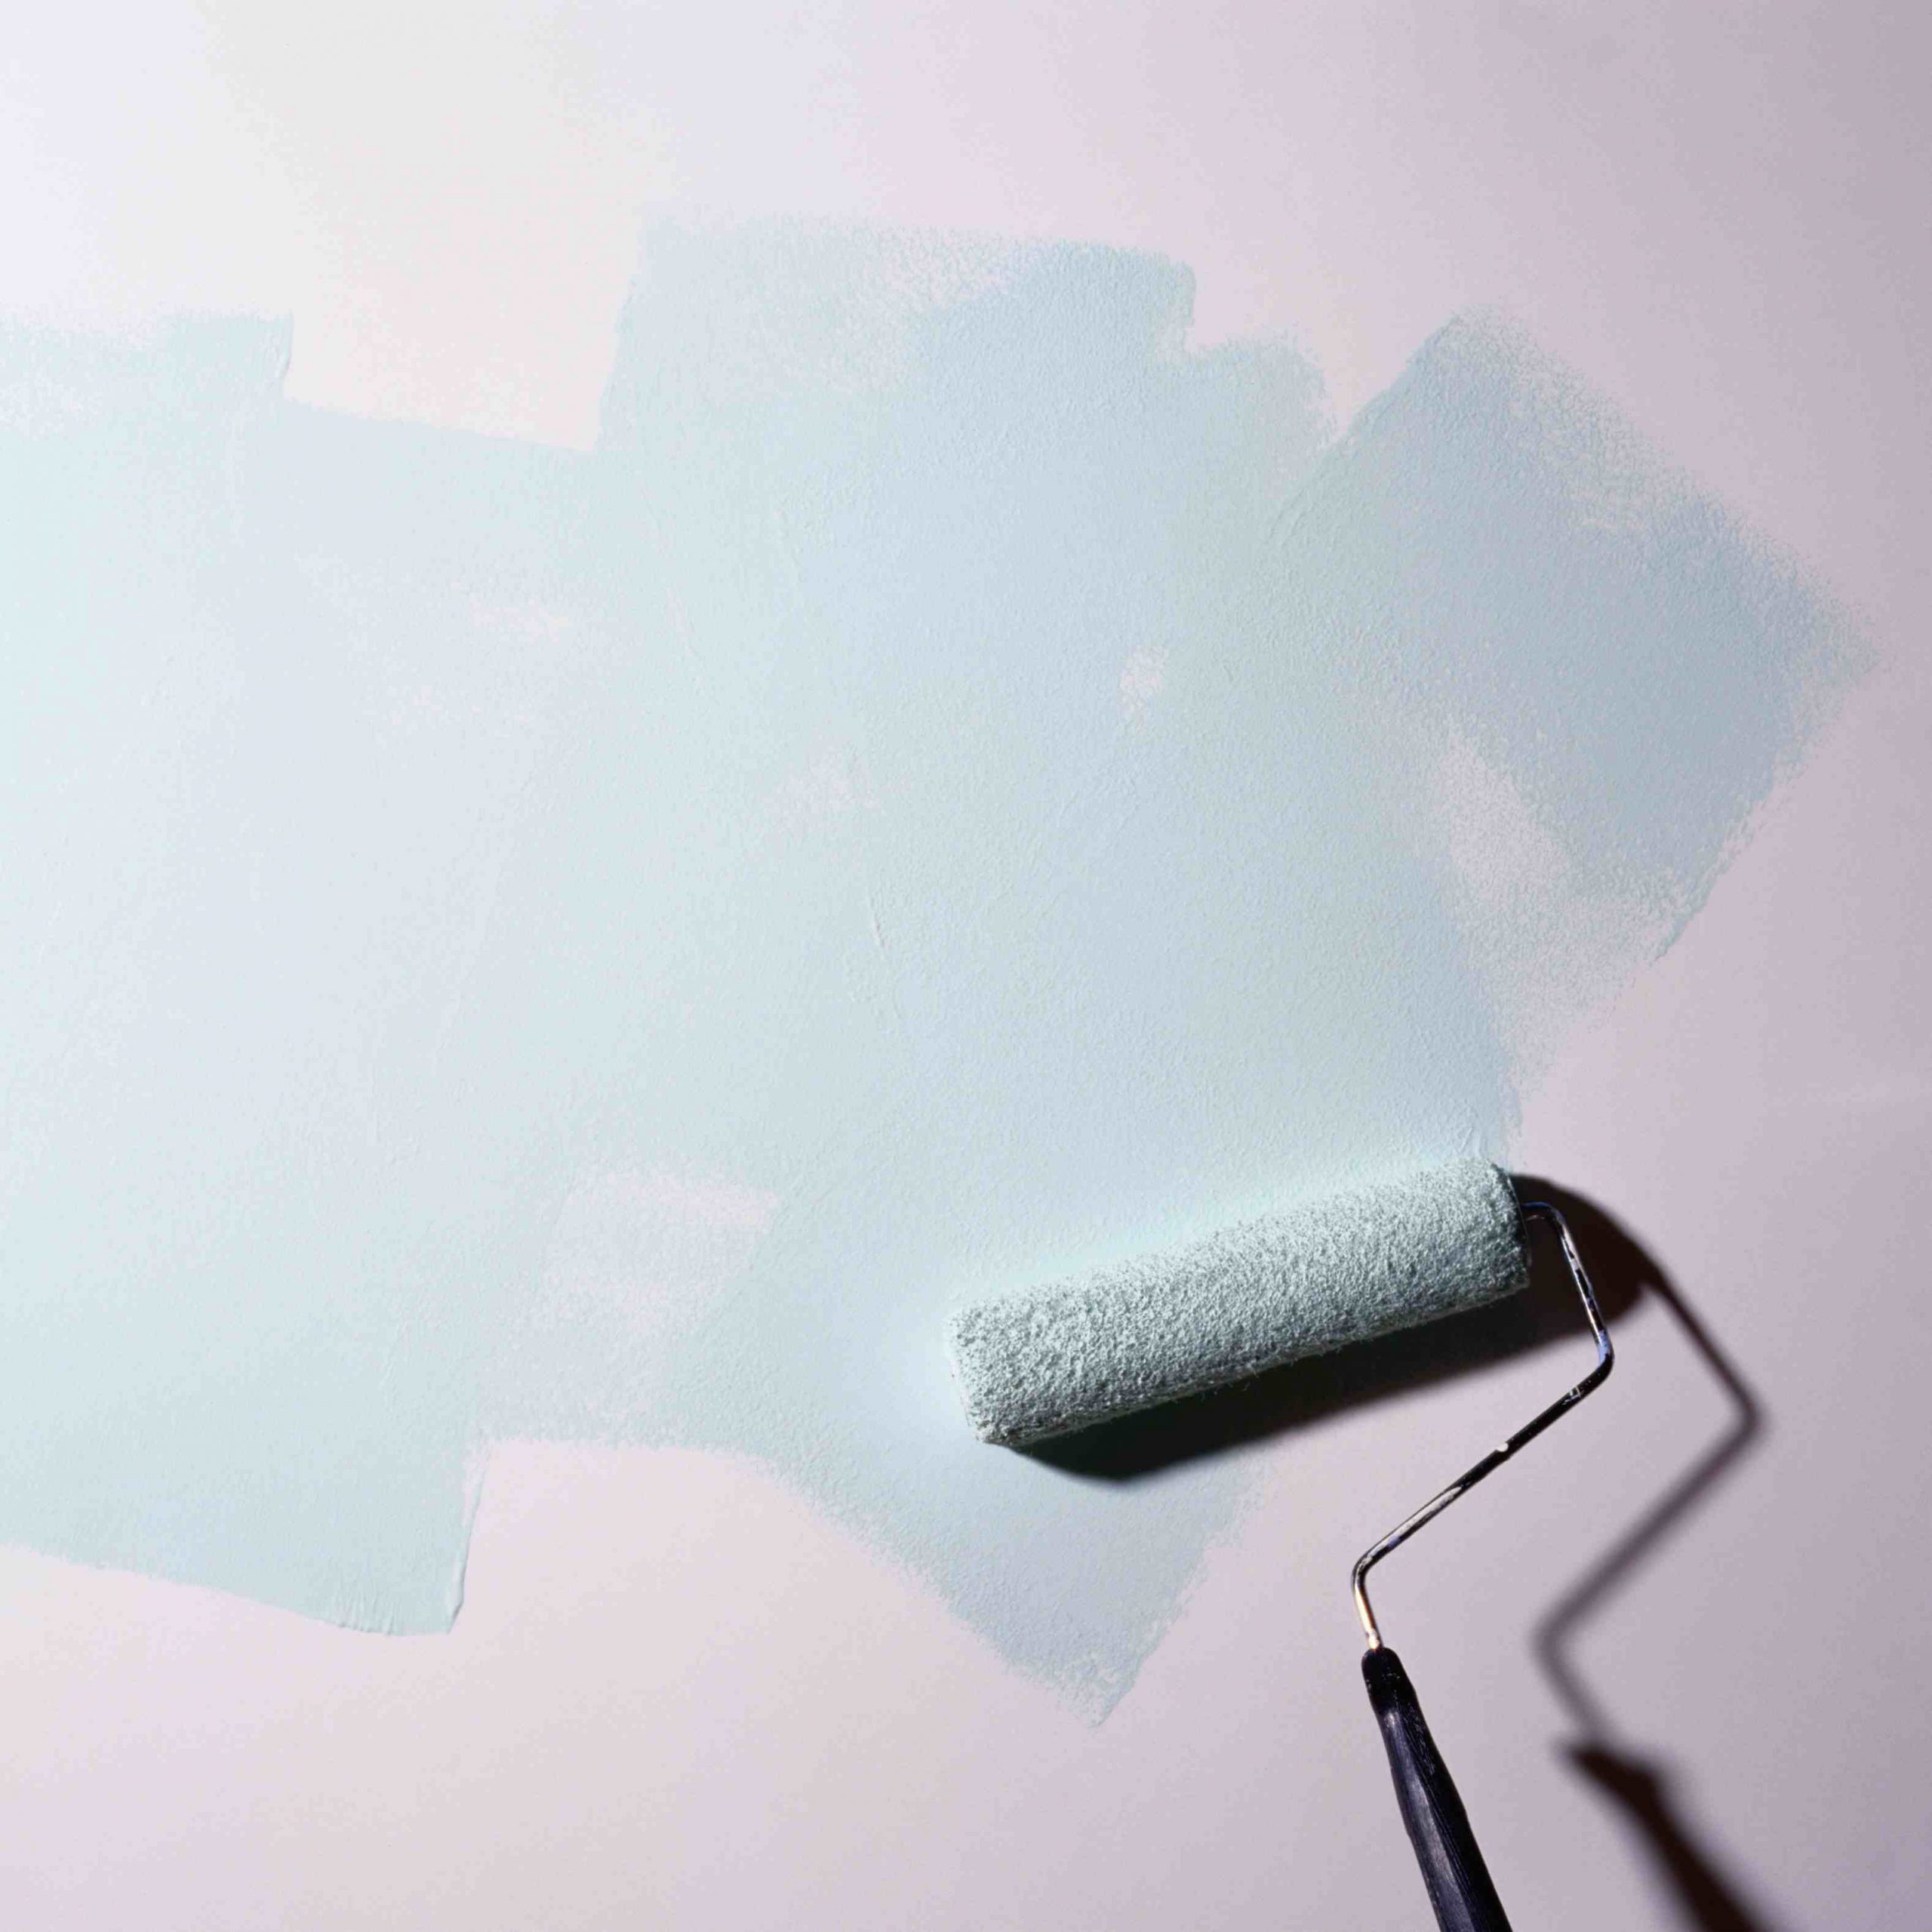
Painting a room may seem as simple as loading up a roller and slapping paint on the walls; however, if you want a result that doesn’t scream “DIY,” you’ll need to get organized and create a plan of attack. There may be a lot to learn, but remember: Do it right, or do it twice. ✔️
With our step-by-step guide, we’ll have you painting like a pro in no time:
-
 1. Planning Stage
It’s time to get totally organized before the job begins. The best time to start a painting project will depend on where you live and the season, but low humidity conditions are ideal, with temperatures around 70 degrees Fahrenheit. Most of your prep work should be done a day or so ahead of time, as most of your time on this project will be spent on getting ready to paint.
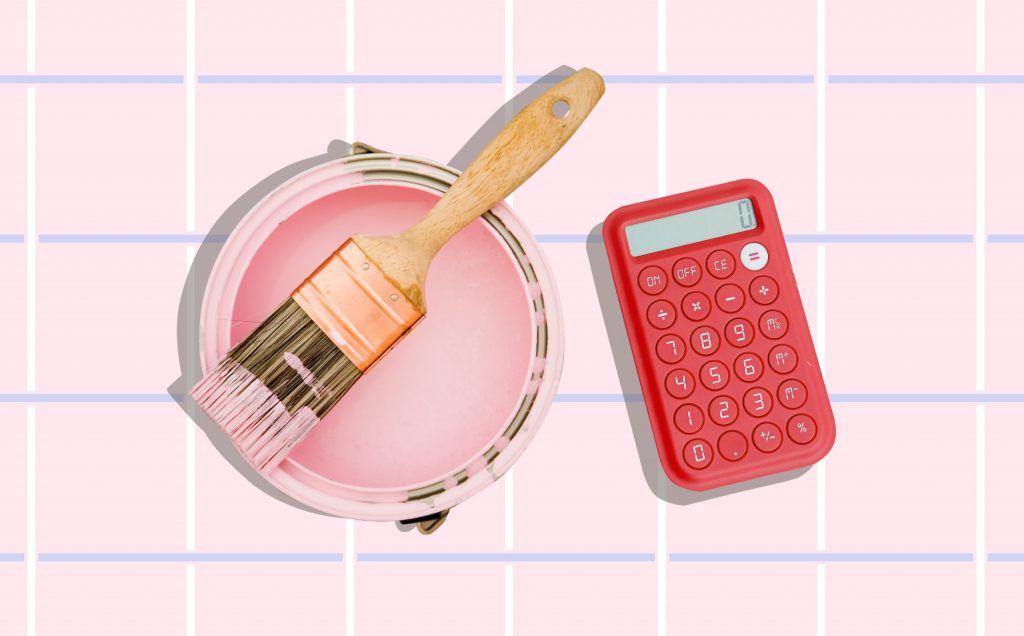 Calculate the amount of paint (and primer) you’ll need before purchasing, as most paint suppliers do not accept returns- even if the cans are unopened. Benjamin Moore and other paint companies have online paint calculators that will help you determine how much you’ll need. (L x W = sq ft) In most cases, a gallon of paint will cover approximately 400 sq ft; however, you should keep in mind that you’ll likely need to do more than one coat of paint. You will also go through more paint when covering rough, textured, or un-primed surfaces.
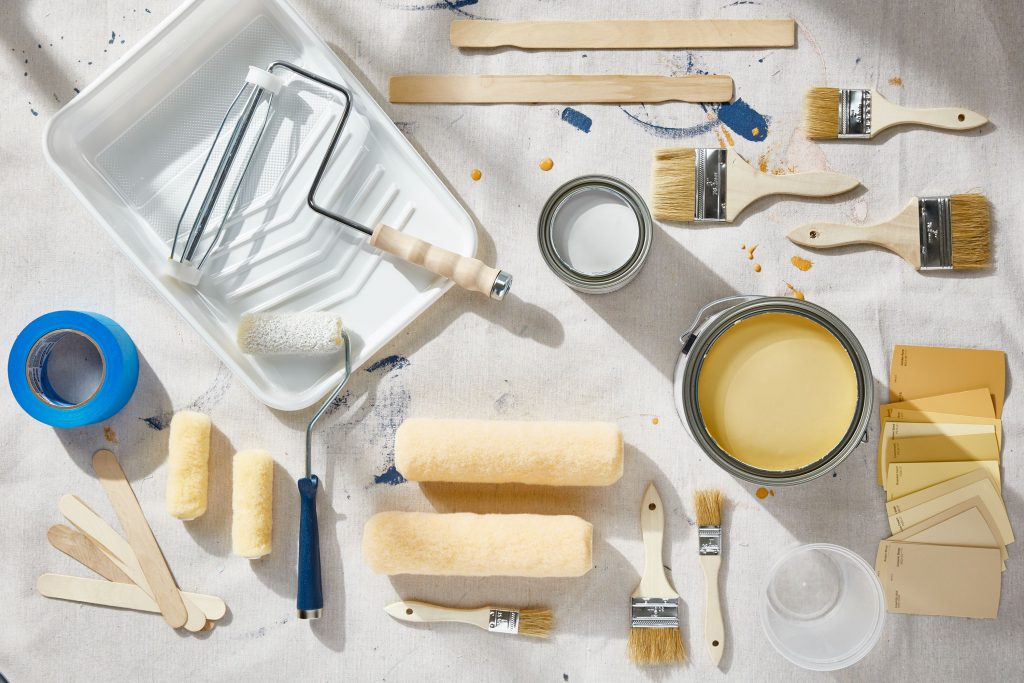
- Get all necessary tools and supplies; here’s a list to help get you started, or feel free to snag our pretty little printout to keep it all in check: DIY Paint Supplies Checklist in The Library.
Tools and Supplies List
- Primer
- Paint
- Ladder
- Extension Pole
- 9-inch Roller Frame
- Mini Roller
- High-quality Roller Sleeves: The thing to remember when choosing a sleeve is the higher the paint sheen and smoother the surface, the shorter the nap should be.
-Short nap (1/4″ to 3/8″) is for high-sheen or oil-based paint and on smooth surfaces.
-Medium nap ( 3/8″ to 1/2″) for a flat, low-sheen, or semi-gloss paint.
-Long nap (1/2″ to 1″) for rough surfaces like popcorn ceilings, textured walls, brick, or masonry. Because long-napped sleeves tend to splatter, it’s best not to overload them with paint.
- Cut-in Brush: Use this for areas that are too tight for the mini roller. A high-quality 1 or 2-inch square or angled brush will do the trick. PRO TIP: Choose natural bristle brushes if you are using oil-based paint- they’ll hold the paint much better than brushes with synthetic bristle. Synthetic bristle brushes made from nylon or polyester are perfect for latex paint because, unlike natural fibers, synthetic materials will not absorb water.
- Paint Bucket
- Paint Trays
- Roller Screen
- Paint Can Cover with a Pour Spout: Trust me, it may seem extra, but it will make your life much easier.
- Canvas Drop Cloth: Canvas is a much better option than a plastic drop cloth; it’s durable and will last you for years; plus, it absorbs any paint drips quickly, so you won’t have to worry about tracking it around the room. It’s also a good idea to get a drop cloth with rubber backings to prevent it from sliding around on hard floors.
- Damp Microfiber Cloth: Keep this with you while painting to quickly wipe any drips or splatters.
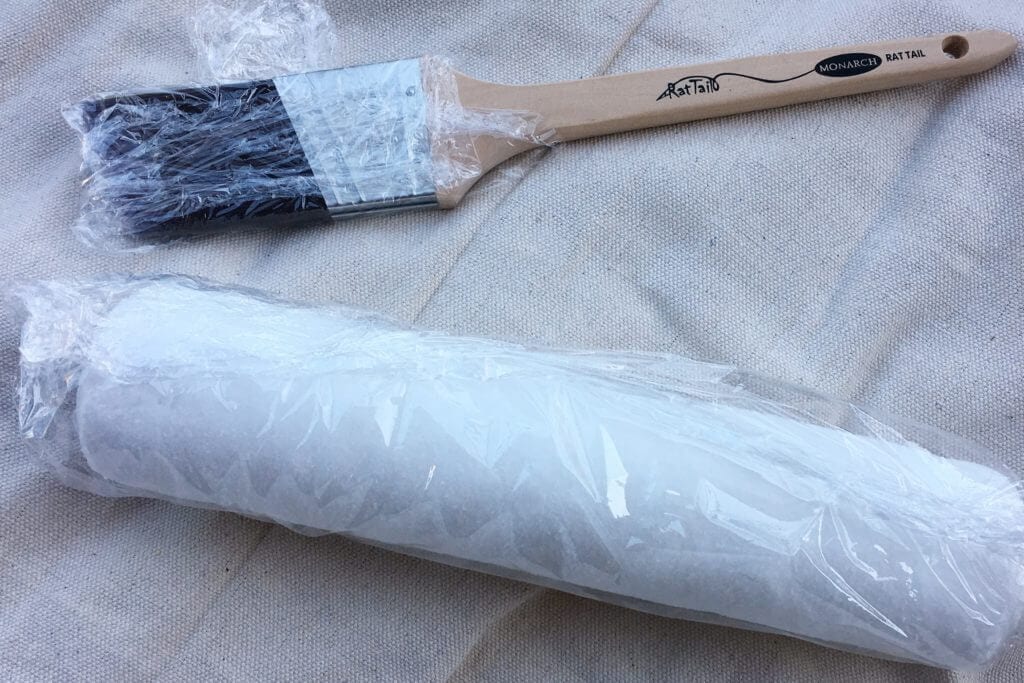
- Cling Wrap: When you need to take a break for longer than 15 minutes, or if you’re waiting for the first coat to dry, make sure you use cling wrap around the rollers, brushes, paint trays, and bucket to prevent it from drying out or hardening.
- TSP or equivalent
- Cheesecloth
- Spackle
- Fine Grit Sandpaper/Sanding Sponge
- Blue Painter’s Tape
- Putty Knife
- Paint Can Key/Flathead Screwdriver
- Paint Edger Tool
- Wood Stirring Stick
- Carpet Shields
- Electric Drill with a Metal Spiral Power Mixer Attachment
- Dust Mask
- Latex or Nitrile Gloves
- Safety Goggles
- Appropriate Clothing and Head Covering
- LED Work Lights, 4,000 Lumens (if needed)
- Paint Strainer
- Vacuum with Detachable Hose Nozzle
Once you have your paint and supplies organized and ready to go, it’s time to get the space in order:
- Start by moving any furniture out of the space or at least well out of your way. Larger pieces of furniture can be brought to the middle of the room and then covered with drop cloths.
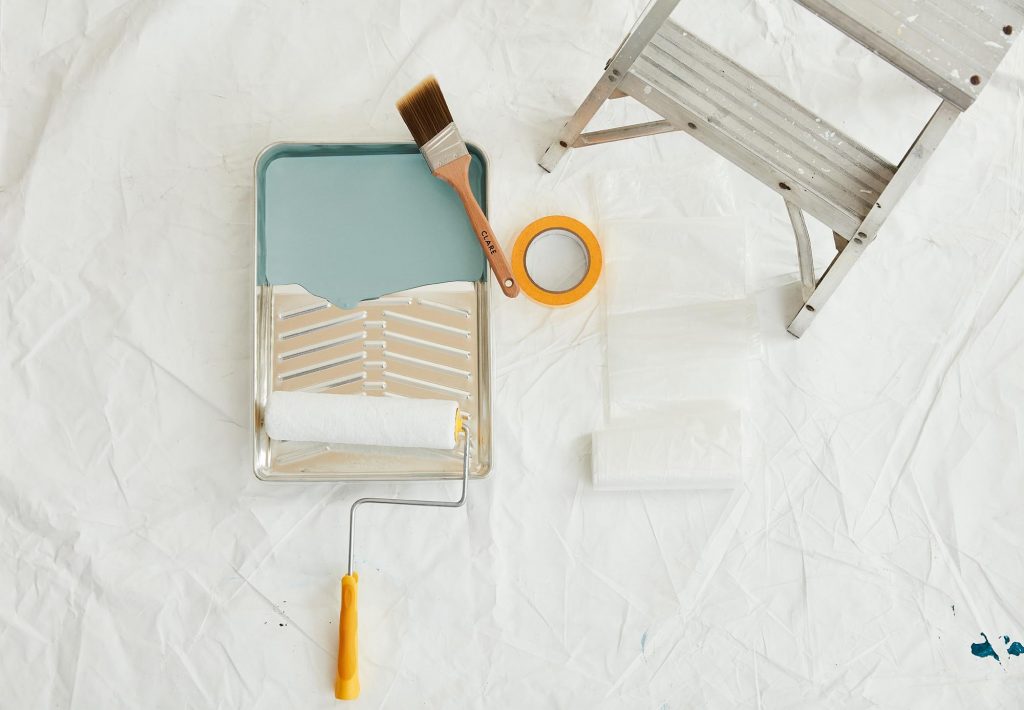
- Remove all obstructions- the work will go so much faster, and you’ll make fewer mistakes without something you have to work around. This includes things like hanging hooks, nails, and basically anything that would be in your way when painting. If you plan on painting the ceiling, remove any hanging light fixtures.
- Lay drop cloths on the floor to protect it, and designate an area in the room where you’ll keep the tools and paint as you’re working.

- Make sure you have good lighting! Your ceiling lights just aren’t going to cut it- even professional painters need a set of work lights. In order to get an accurate representation of how well the paint is being applied, go to the hardware store and get a pair of LED work lights- ideally with a rating of 4,000 lumens. 💡
- When painting, you’ll always work from the top down. This makes sure you can see and correct any drips as you work. If the plan is to paint the entire room from ceiling to floor, you should paint the ceiling first because unless you cover your walls completely, you’ll end up splattering them. Once the ceiling is finished, move on to the walls, then the trim, and finally the floor.
- If painting the floor, make sure you start with the furthest corner from the door and make your way towards it. Otherwise, you’ll have to step in wet paint to leave the room! PRO TIP: Be sure to use a primer that is specific to wood floors.
2. Prep work
As tempting as it is, DO NOT cut corners on your prep work. It may be the most tedious part of the whole project, but the better you prep, the faster your painting will be, and the better results you’ll get in the end.
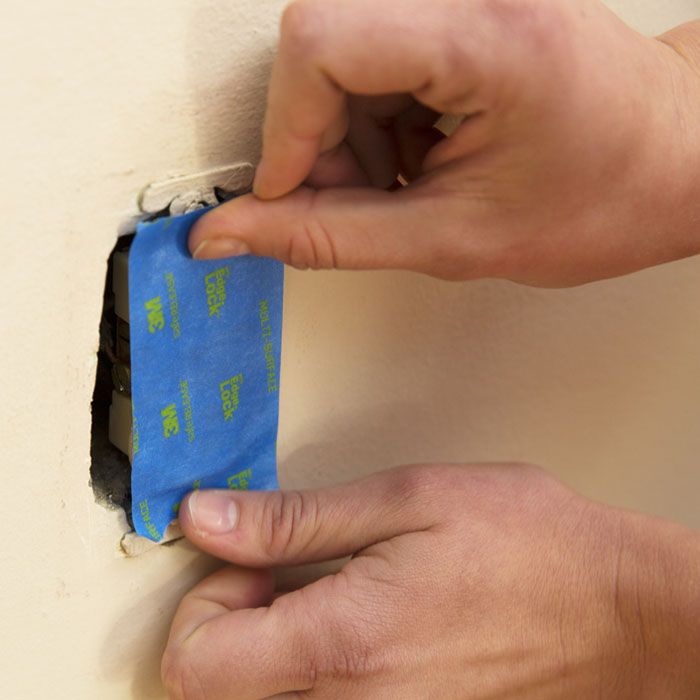
- First, begin taping off the necessary areas around the room: all trim including around the windows and doors, ceiling edges, and outlets/switches.
Taping tips:
-Masking tape can leave a sticky residue behind, so a better option is the 1.88″ original blue painter’s tape.
-Before placing the tape, wipe the trim and ceiling edges with a dry cloth, as painter’s tape adheres much better when the surface is dry and dust-free.
-Taping in long, uninterrupted strips will better help prevent the paint from seeping underneath. If you need to connect two sections of tape, ensure you have at least a two-inch overlap.
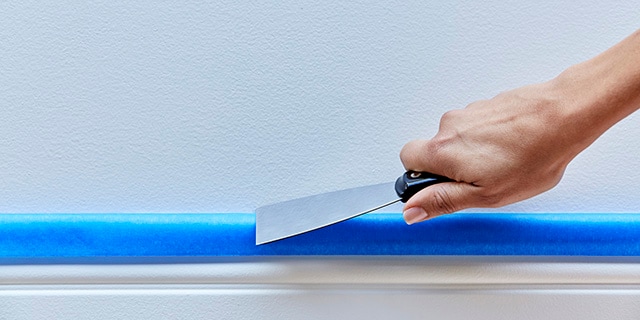 Once the tape is in place, remove any air bubbles by rubbing with your fingernails, or better yet, use a putty knife to seal the edges. However, when it comes to taping your ceilings, use the least amount of pressure necessary on the tape. Flat ceiling paint is not as durable, so the tape can pull off existing paint when it’s time to peel it off.
- Opinions are pretty divided when it comes to proper tape removal. Should you pull the tape off while the paint is still wet, or should you wait until it has thoroughly dried? The best approach is to follow the tape manufacturer’s instructions, as some recommend peeling the tape when the paint is still wet, and others say to pull it after it’s completely dry. Either way, be prepared for touch-ups.
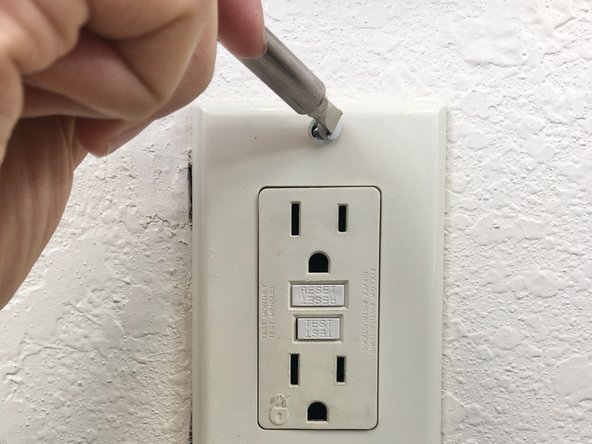
- Once you’ve finished taping off the ceiling edges, baseboards, and all other woodwork, remove any wall plates and tape over the face of outlets and switches. Avoid the cables!
PRO TIP: Place all removed wall plates and the screws in a labeled Ziploc bag- that way, you won’t lose them.
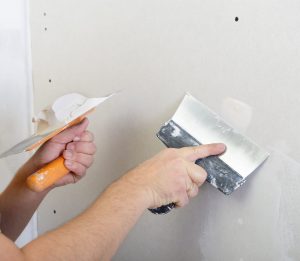 Repair minor damage to the walls and trim, filling in any nail holes or indents. For small holes (less than 1/8 in.), use a spackling compound.
For bigger holes, use a joint compound. Follow the manufacturer’s application and drying time instructions.
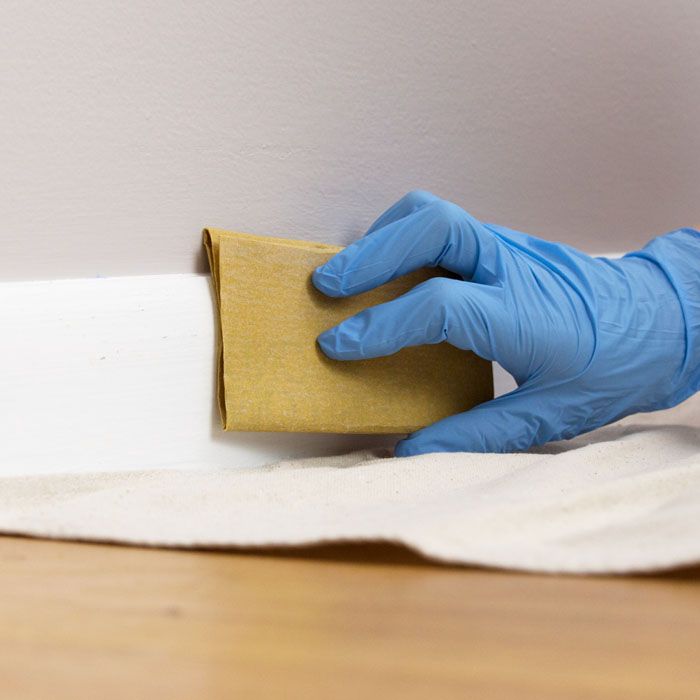
- While wearing a dust mask, grab your sanding sponge or fine-grit sanding paper and give the surfaces a good sanding. Only a little pressure is needed to help smooth out uneven areas. Scrape away any flaking paint with a paint scraper.
IMPORTANT: If your home was built before 1979, you absolutely MUST test the paint for lead before sanding. Exposure to lead dust can cause serious health problems, so it’s imperative to take appropriate safety precautions.
- After sanding is complete, clean the surfaces by wiping them with a damp cheesecloth. Depending on how dirty the walls are (for example, if you are painting a kitchen or bathroom), you may need to use a degreaser like TSP, as the paint will not adhere to a greasy or dirty surface. When working on a bathroom, you’ll need to watch out for mildew spots – make sure to use Kilz, as TSP alone will not destroy mildew. If you don’t kill all the spores beforehand, they will live underneath the paint and ruin the surface in the long run.
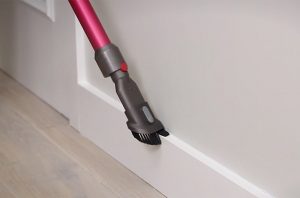
- Once the surfaces are thoroughly cleaned, the next step is to vacuum the baseboards and floor so that the dust caused by sanding won’t get kicked back up and stick to the wet walls.
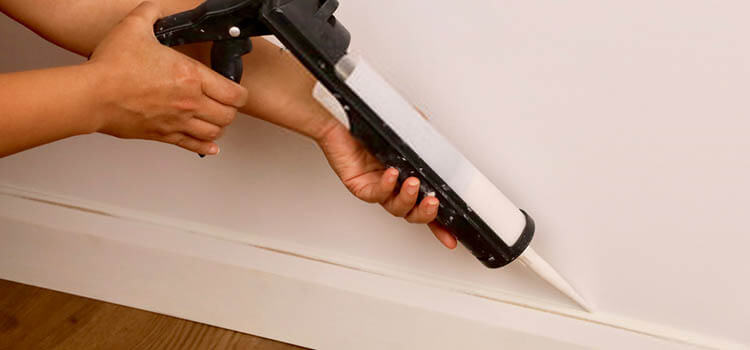 Apply caulk to fill in any gaps between the trim and the wall.
3. Time to Rock and Roll
Prep the Paint and Supplies
- Rinse and dry your paint bucket with a lint-free cloth and attach the roller screen.
- Clean the roller sleeve by rubbing it with wet hands to remove any lint or loose fibers, and attach it to the handle or an extension pole.
 Thoroughly mix the paint- either use the paint within a day or two of purchasing or mix it yourself with a power mixer attached to an electric drill. You do not have to mix the primer, as there is no pigment that would settle at the bottom.
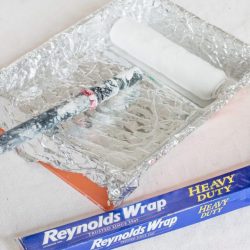
- Pour primer into a bucket and/or paint tray. PRO TIP: Line your paint trays with aluminum foil before adding paint/primer; this will make cleanup much easier! Whether you are priming or painting- resist the urge to fully submerge the roller into the bucket! Paint will get into the gaps of the roller frame, which will result in splattering. Instead, load up the roller for the first time, dip it into the paint about 1/2 inch, and begin rolling it up and down against the screen; repeating this step about 4-5 times will ensure your roller is loaded up with a good amount of paint. If you need to set your roller down- don’t store it inside the bucket for the same reason. Just place it on the screen or inside a paint tray.
- Apply primer to all surfaces that you will be painting.
- Wait for the primer to dry thoroughly in between coats and before moving on to applying paint. Read the manufacturer’s instructions to get an estimate of drying time, as your environmental conditions, like temperature and humidity, will impact this. On average, latex primers take about an hour to dry; however, it’s ideal to wait 3-4 hours before paint application. Oil-based primers need 12-24 hours of drying time.
- Once the primer is dry, lightly sand the surface, smoothing out any uneven areas or brush strokes. Vacuum and wipe the walls clean with a tack cloth or a slightly damp sponge.
Now that you’re all primed and ready to go, let’s talk paint:
Painting Techniques
Although the sequence in which you paint is subject to preference, many professionals agree that when painting an entire room, it’s best to begin with the ceiling, then the walls, and finally, the trim. If you’re painting the ceiling, wait until it’s completely dried before taping off the inner edges and moving on to the walls. The same is true for the walls- wait until it’s completely dried before taping off and moving on to the trim.
There are two important phrases you should keep in mind while painting: “Cutting In” and “Wet Edge.”
When using a roller, it’s impossible to bring the paint right up against the edges to get a razor-sharp line, so you will need to utilize a painting technique called cutting in. Cutting in is when you first paint the top and bottom areas of your wall along the trim and in the corners.
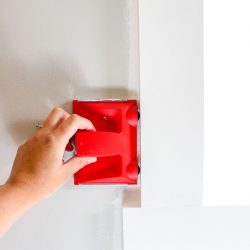 One of the easiest methods to do this is by using a paint edger, which is a small tool designed for this very purpose. You can also use a tapered brush and a steady hand.
You should work on one wall at a time, meaning once you are done cutting in a wall, you will go in with your roller immediately after. Then, move on to cutting in the next wall and repeat the process.
How to Cut In:
Dip your brush into the paint, making sure not to overload it. Do not dip more than 2/3 of the length of the bristles into the paint. Gently tap the side of the bucket to remove any excess.
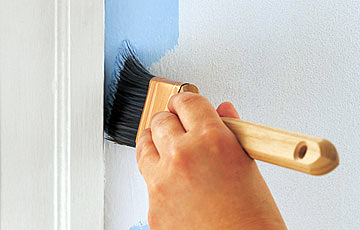 Starting an inch away from the area you’re about to cut in, paint a 12-inch stripe on the wall.
Without reloading your brush, go back to where you first laid down the paint and use long, even strokes to cut in a thin line that gets right next to the trim or corner.
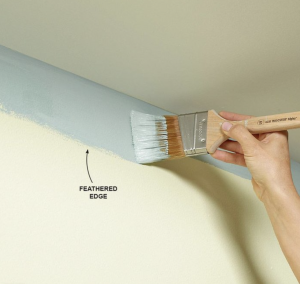 Using a gentle sweeping motion, go back and feather the outer edges of the painted area. Doing so will help disguise any brush marks for a seamless finish once you’ve rolled the walls.
As you continue to work your way across the wall, overlap the sections to maintain a wet edge.
Speaking of…
During the painting process, you need to maintain a wet edge, meaning the sections of paint you cut in need to still be wet by the time you go back and fill in the rest of the wall with your roller. The same rule applies to the ceiling.
Why is this so important? It’s to prevent the biggest tell-tale sign of DIY painting jobs – lap marks. Lap marks appear as a darker color or a different sheen where the wet and dry layers overlap during application. You also need to move QUICKLY and CONTINUOUSLY from one end of the wall to the other so that the paint that’s being applied can flow seamlessly together.
Now that the cut-in process is complete, let’s get rolling:
Roller Techniques
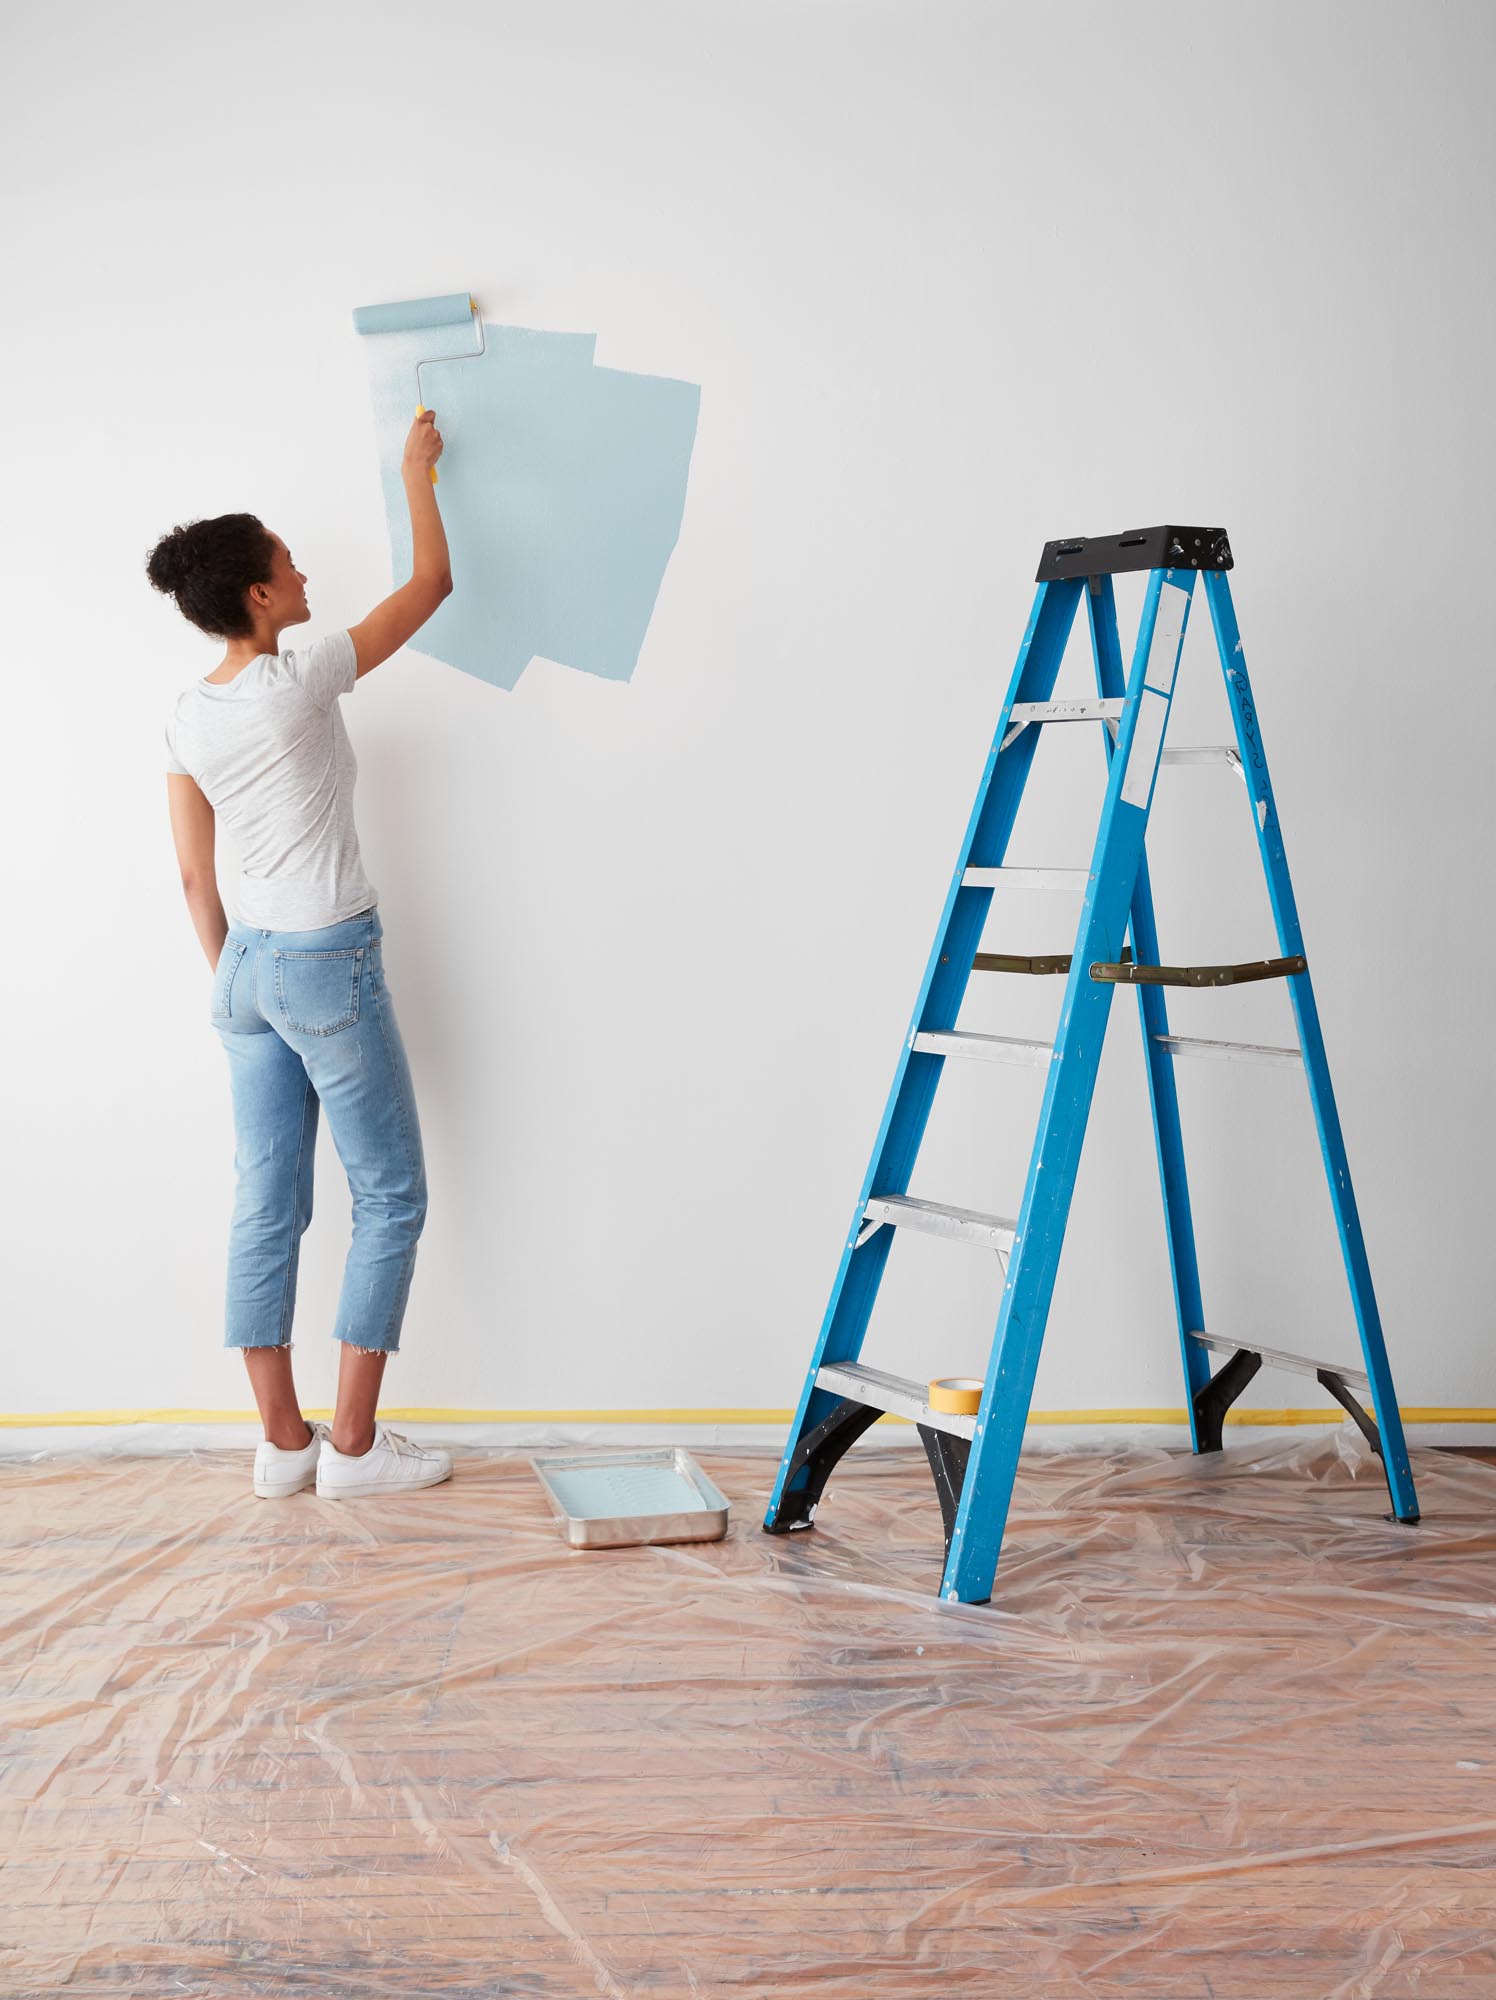 Load up the roller: Dip it into the paint about 1/2 inch and begin rolling it up and down against the screen; repeating this step about 4-5 times will ensure your roller is loaded up with a good amount of paint. Do not just dunk it into the bucket or the recessed portion of the paint tray! Also, never leave a paint-covered roller exposed to the air; instead, wrap it in cling wrap whenever you take a break- even a short one.
Don’t press the roller too hard against the surface: If you find that you’re pressing hard to get enough paint on the wall, it means there’s not enough paint left on the roller, and it’s time to load your roller once again.
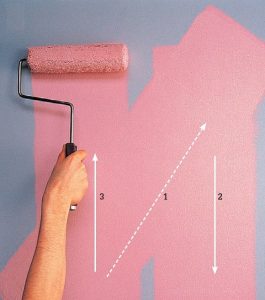 Move the roller in overlapping “W” shapes:
Starting in the corner of a wall or ceiling, roll on a “W” shape about 3′ by 3′ in size.
Then, without lifting the roller, fill it in.
Repeat until the section is finished. This technique helps prevent any noticeable roller marks.
Ceilings
Ceiling paint is made with a different formulation than wall paint- it has a thicker consistency that helps prevent most drips. If you’re painting a smooth ceiling, it is best applied with a 3/8-inch nap roller cover; however, if the ceiling is textured, you should go with a thicker nap.
Walls
When painting walls, it’s best to work one at a time. Once an entire wall is complete, then it’s time to move on to cutting in the next wall and follow it up with the roller. Repeat the process until every wall is covered. After the first coat is applied, inspect the surface for drips or other imperfections like roller lint.
If you’re painting a large space, then it’s possible that by the time you finish the last wall, the first wall will be dry, and you can begin the second coat immediately. However, if you need to wait, cling-wrap your tools until it’s time for the second coat. Place cling wrap over the bucket’s inner walls and over the top so that any paint splatters there won’t dry and flake off into the good paint. It’s also a good idea to wrap the roller screen.
Trim
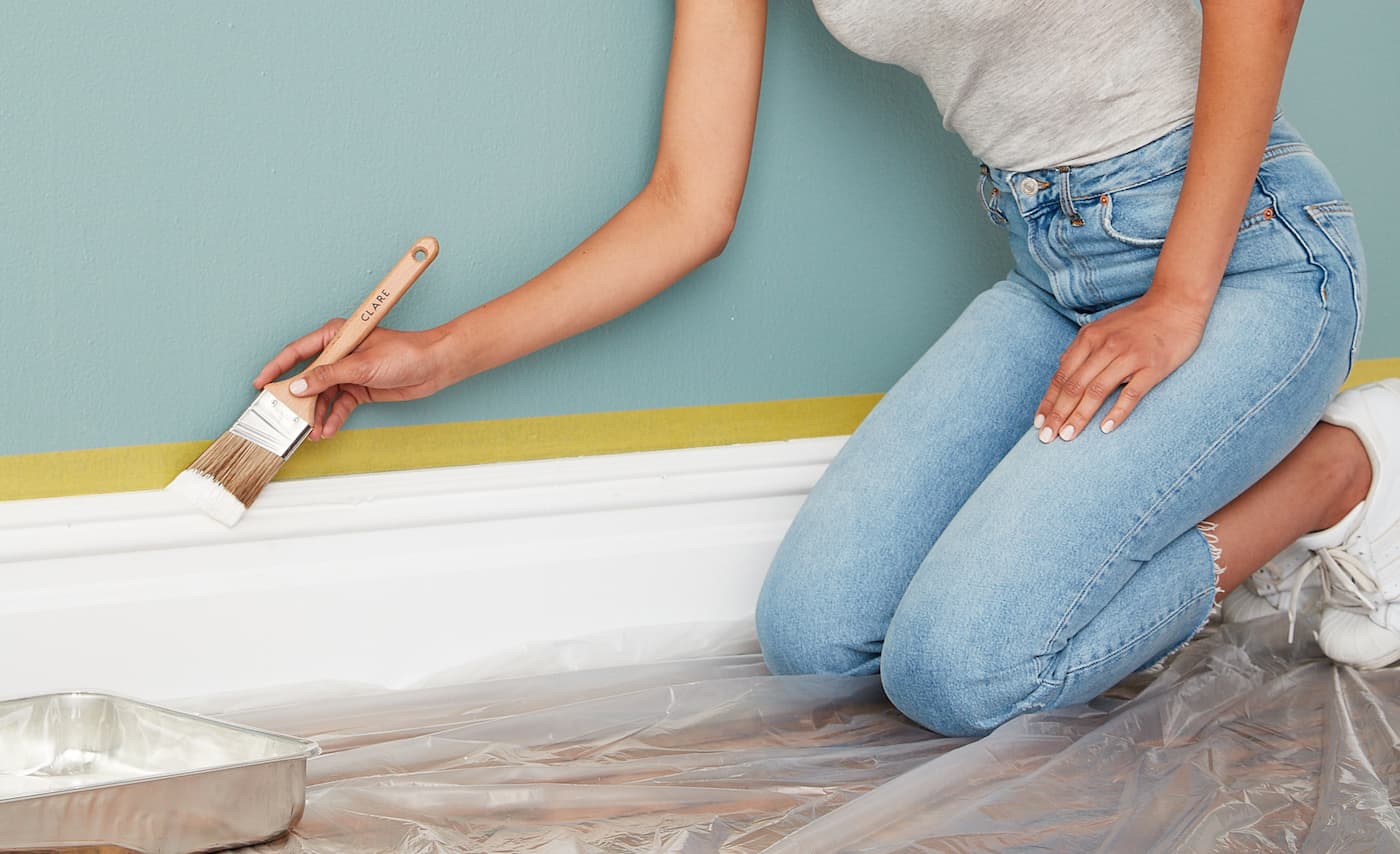 When it comes to DIY painting, trim can be particularly challenging. When it comes to paint selection, semi-gloss and satin are the standard sheens for trim and ideal choices for amateur painters as they mask mistakes better than higher glosses, which tend to highlight even the slightest imperfection.
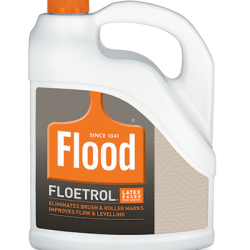 PRO TIP: Adding a latex paint conditioner like Floetrol will make the paint flow smoothly while slowing down drying time. This allows you to spread the paint more easily without leaving obvious brush marks.
Double-check with the paint manufacturer to see if there are any recommendations for a particular brand of conditioner.
How do I paint my baseboards with carpet?
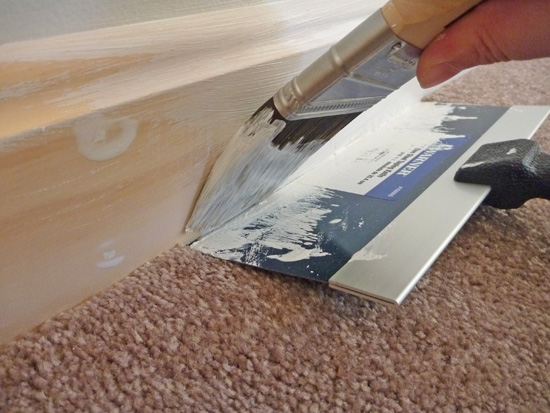 A few options can help you around the carpet- First, check to see if you can remove the tack strip and pull it back.
If that’s not possible, simply use a carpet/paint shield to protect it while painting.
Alternatively, you can remove the baseboard, paint it separately, and reinstall it once complete.
Here are a few more tips to help you achieve a perfectly smooth, professional-looking result:
- After prepping and priming, lightly sand the trim with 120-grit sandpaper to smooth out brush strokes. Vacuum the area and use a tack cloth to remove dust.
- Using a 2.5” angled brush, dip no more than an inch into the paint and wipe away any excess.
- With short brush strokes, cover only a few feet of trim at a time.
- Finish each freshly painted section by smoothing it with one long brushstroke.
- Repeat this technique on another section until all the trim is painted.
How many coats do I need?
Of course, this depends on a couple of factors, but let’s just keep it simple: It’s best practice to plan for one coat of primer and two coats of high-quality paint. If you opt for lower-quality paint, not only will you need more coats for even coverage, but you’ll be sacrificing long-term performance- in other words, you’ll be going through the entire painting process again in no time. Get the highest quality paint you can afford- it’s more than worth it!
How long do I wait in between coats?
This greatly depends on environmental factors; however, latex paint typically dries in two to four hours. Oil-based paints can take up to 24 hours to dry completely between the first and second coats. Do not rely on touch alone! This is not an accurate measure of whether or not your walls are ready for the next coat. Also, each coat will require additional time to set, so give the second coat more time to dry than the first if your plan is to do three coats total.
PRO TIP: There is a difference between drying time and curing time. Until paint fully cures, it’s vulnerable to damage from wiping, water, and chemicals. You should wait 30 days before you attempt to clean or wipe down your walls.
4. A Clean Finish
Once you’ve completed painting, it’s time to wrap things up by storing the leftover paint and cleaning your tools.
- Using a paint strainer, strain the paint back into the can and replace the cover.
- Label the lid and side of the can with the room’s name (and specific walls, if applicable) and store it in a cool, dry area.
Cleaning Latex Paint
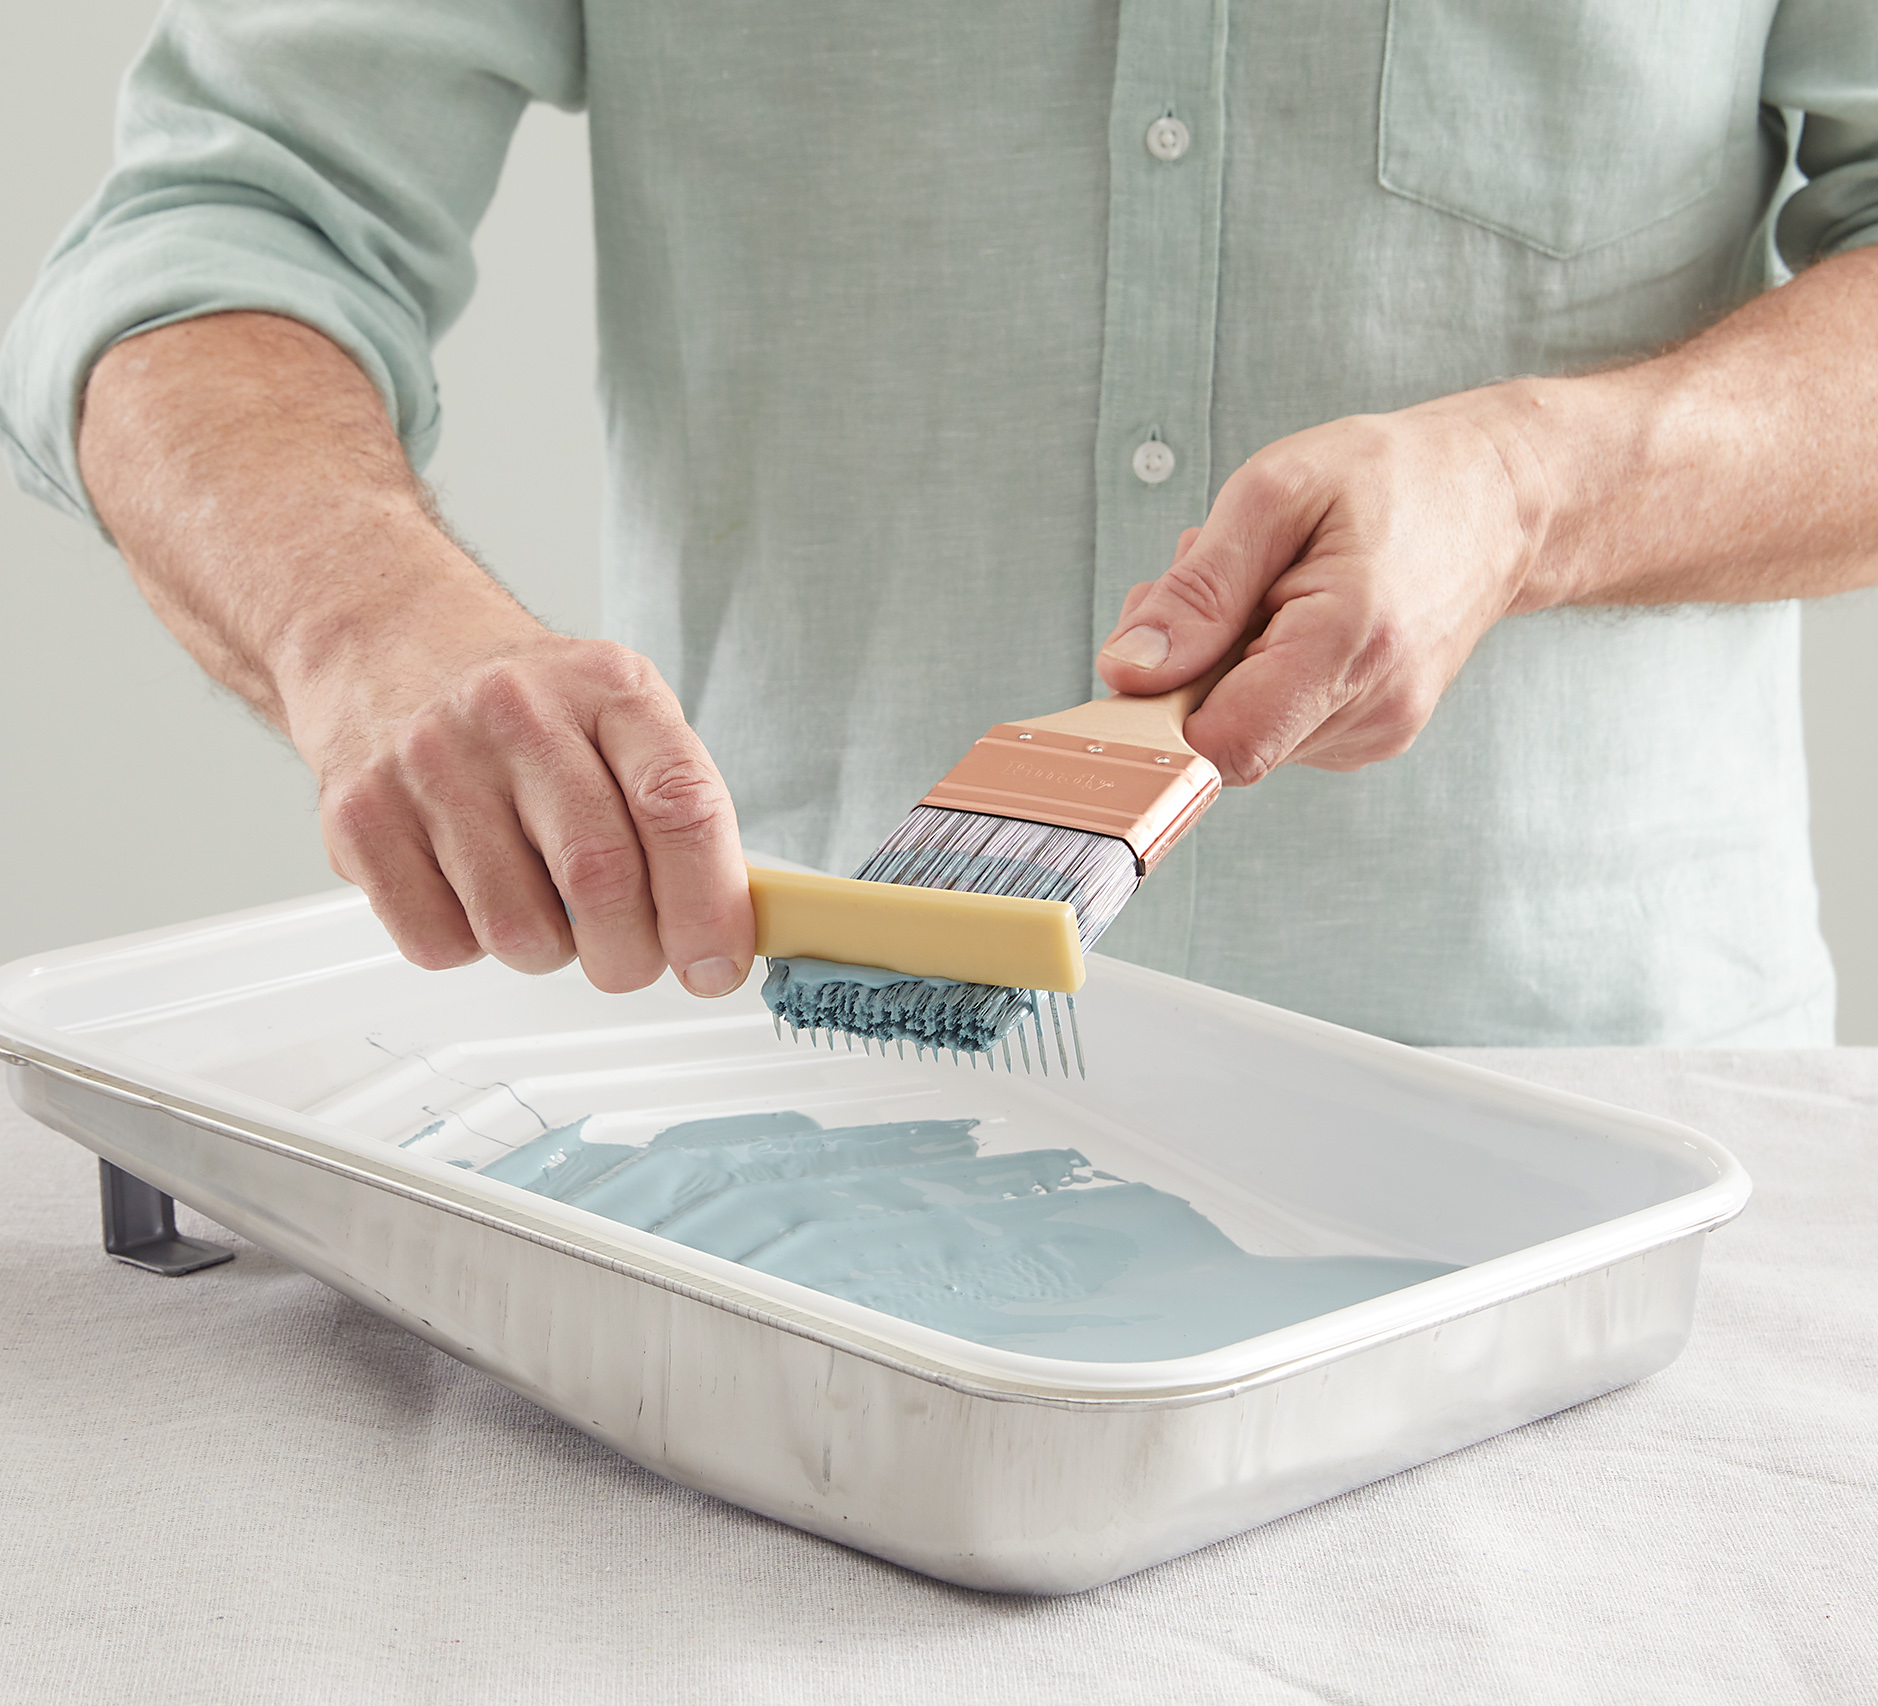
– If you don’t have a utility sink, wait until the paint dries entirely on the inside of your bucket, and then peel it away.
– Scrape away any excess paint from your rollers and brushes, and then rinse with warm water. Once most of the paint has been removed, add a small amount of mild soap and work into a lather. Rinse thoroughly, shake off the excess water, and allow to air dry. 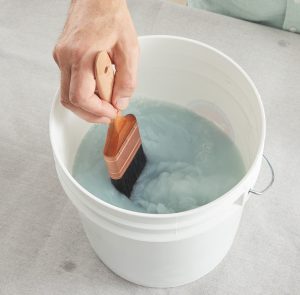
Cleaning Oil-based Paint
– Because paint thinner is toxic, good ventilation is necessary to avoid inhaling fumes.
– Put the roller and brushes in a bucket or an old pan and carefully cover them with paint thinner. Allow to sit for several hours or overnight. The oil-based paint will come off and settle on the bottom.
– Remove any excess thinner with paper towels and allow to air dry.
- Once the rollers/brushes have dried completely, store them in a sealed plastic bag or wrap them tightly with cling wrap. It’s vital to store rollers vertically because otherwise, they will flatten on one side and become unusable.
- Wait at least 24 hours before replacing wall plates and light fixtures.
- Remove drop cloths and replace furniture
THAT’S IT! YOU MADE IT! You are released to go and pillage the painting aisle! That was a TON of info, but aren’t you SO glad you took the time and energy to educate yourself before attempting a DIY painting job? You just did yourself a major solid, we GUARANTEE it. 👏
Want even MORE painting info? You’re an animal! Why not go crazy and check out the videos on avoiding costly painting mistakes? Get your painting frenzy on!
What Color Should I Paint My House
Stop Painting Your Home Now to Avoid Big Mistakes!
Resources:
Our go-to is Benjamin Moore because of the quality of the paint and the stability of the color. But we’ve used many paints over the years, and there’s a number of great vendors:
US and Canada:
Benjamin Moore, Farrow & Ball, Sherwin Williams, Valspar, Dunn Edwards, Behr, PPG, Cloverdale, Clare
UK & EU:
Mylands, Little Greene Paints, Farrow & Ball, Paper & Paints, Dulux, Viero paints, Rialto colors, DAW, Caparol, Cromology, Brillux
Australia/NZ:
Sydney Harbor Paint Co., or Porter’s Paint, BioPaints, Drikolor, Murobond, Aalto Colour

